Paint

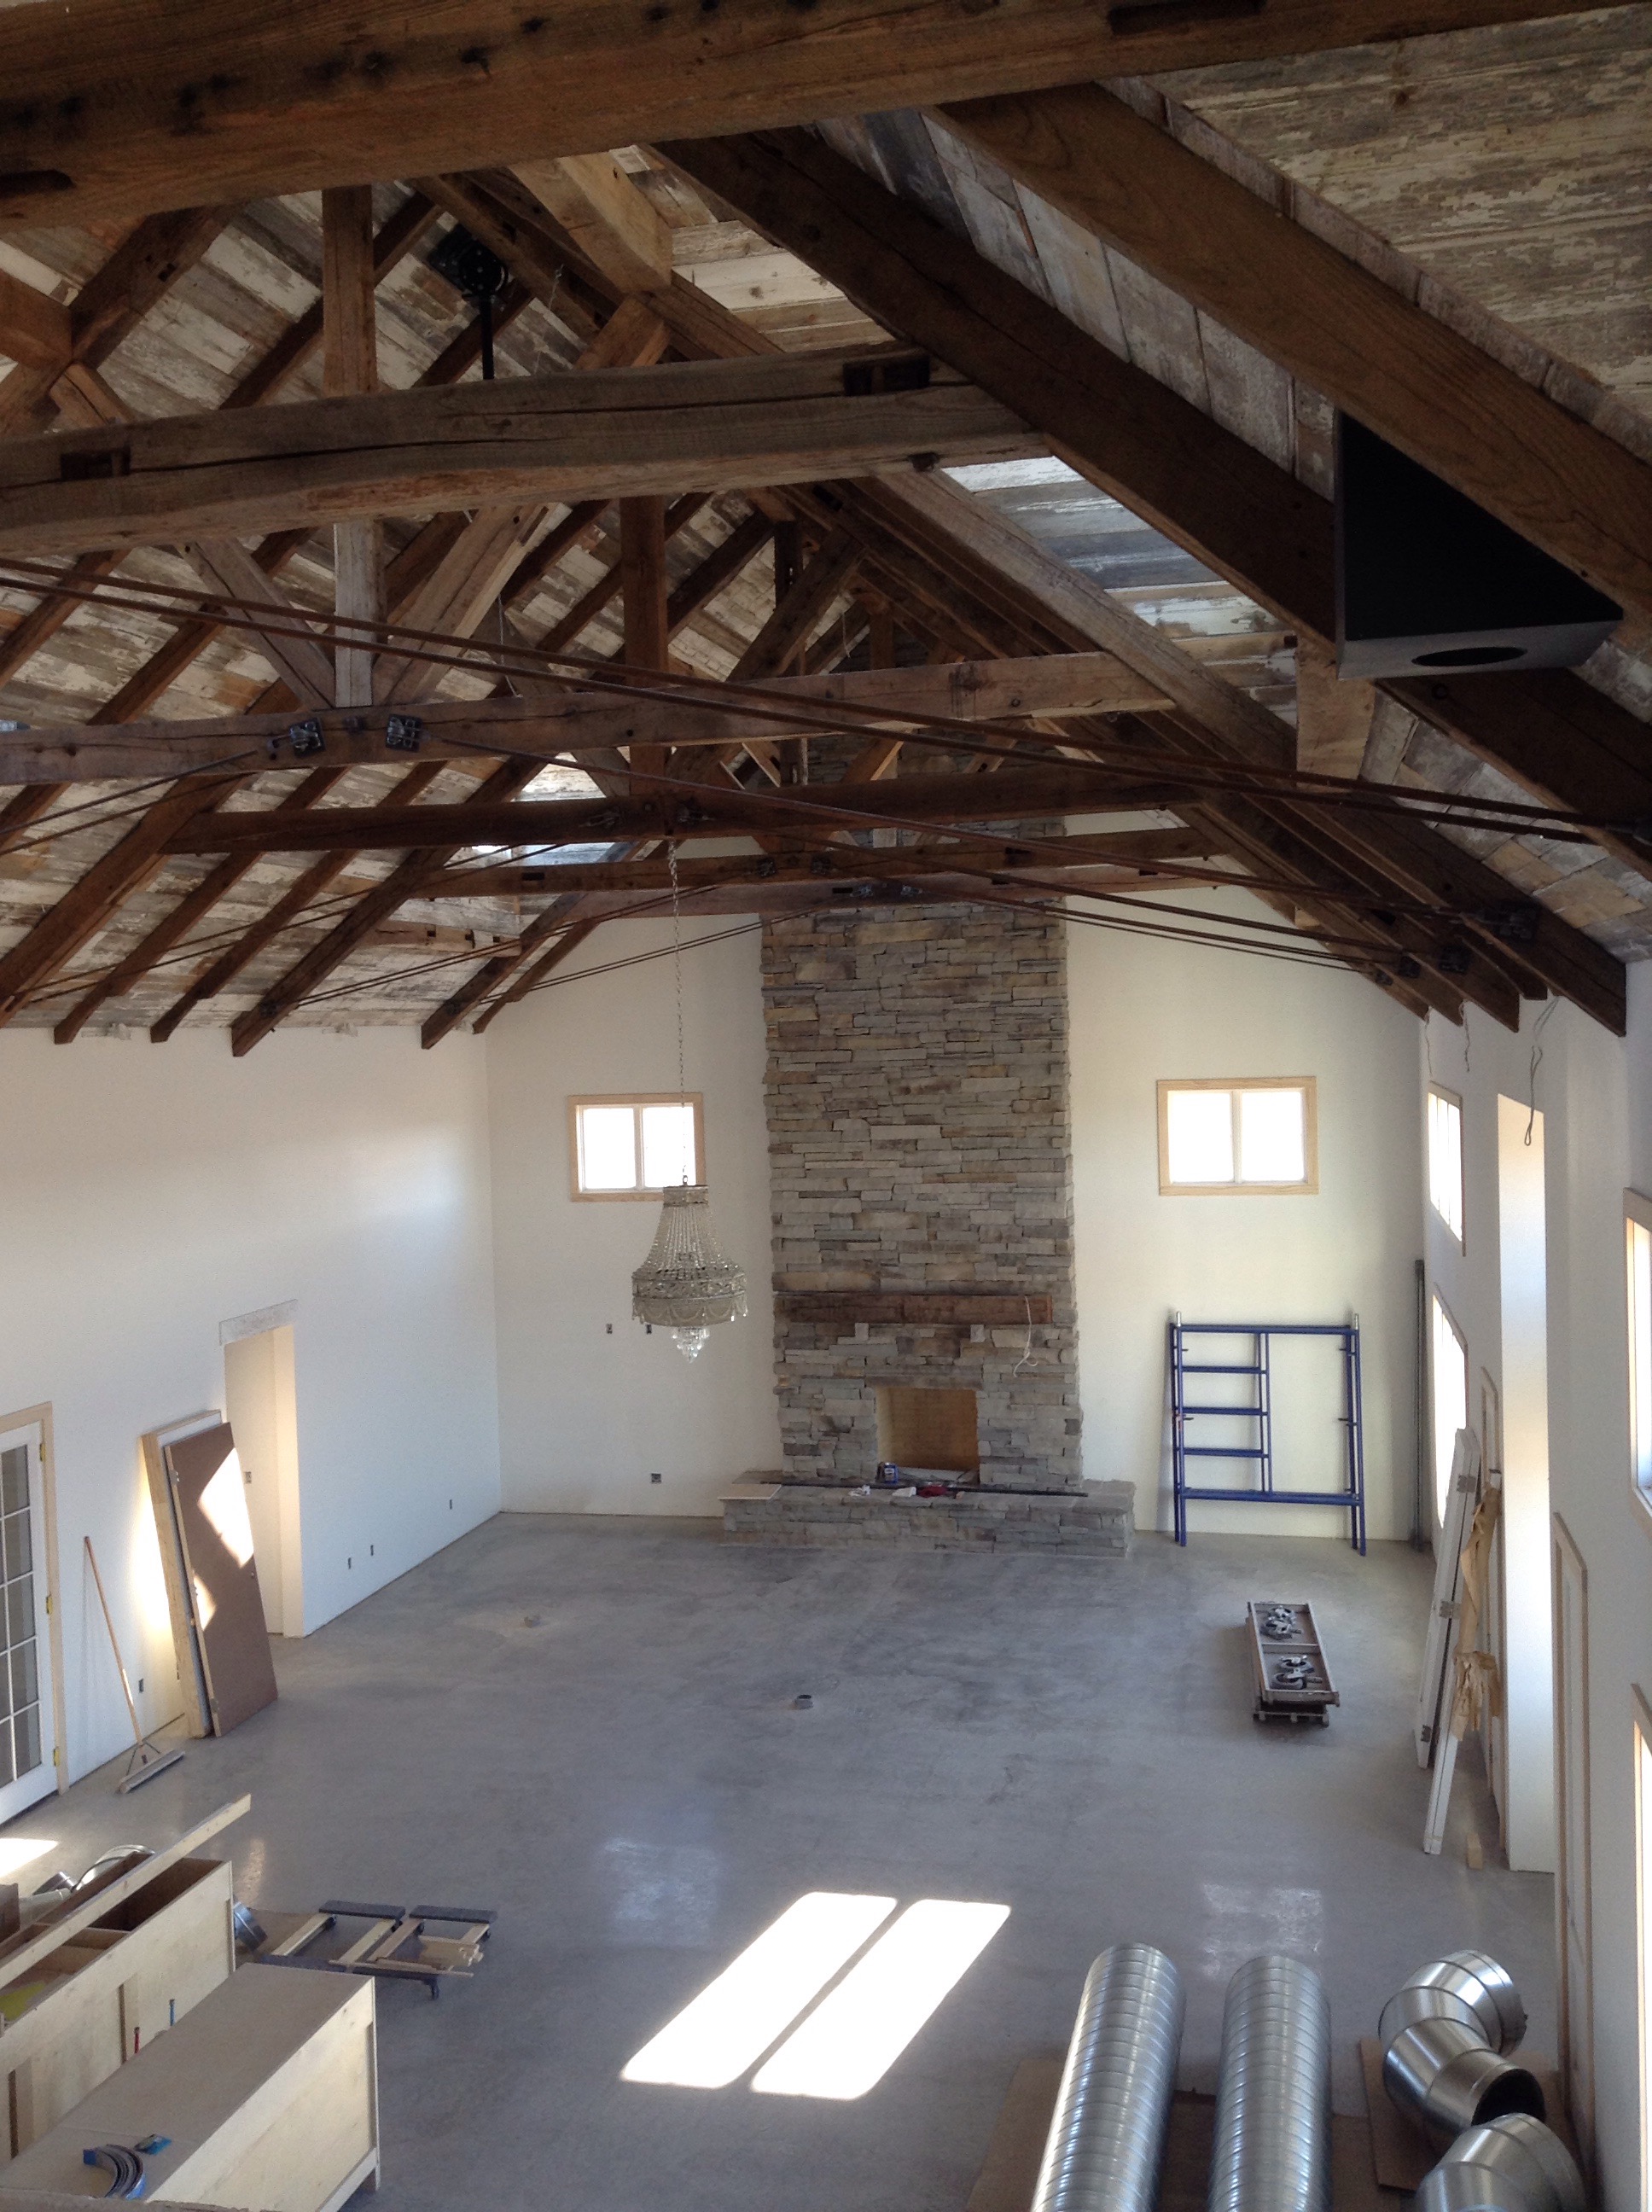
Paint….getting one step closer. Yay! Today is the start of the painters third week at the house. The first week was all preparation to seal the siding material on ceilings. After some research and test boards we ended up using an acrylic urethane, it left the wood looking very natural, and is low VOC. I wanted it all sealed so when (if I ever 😝) dust it the paint won’t flake. The old paint is beautiful. But I want it to stay on the old wood.

The painters got that done the beginning of last week. Then they prepped for paint on trim and baseboards. We went with an oil paint….not sure how I feel about it. Jose (the painter) said it would wash and wear better. And with four kids and white trim I was really wanting washable!!! The paint smell is so strong in the house now….with just the primer. I don’t know if I made the best decision to go with an oil base?? The wall paint is all going to be water based low VOC Benjamin Moore Aura paint.

They are using sprayers to paint so the prep is very labour intensive. Take a look.

IMG_3554

IMG_3553

IMG_3547

IMG_3551
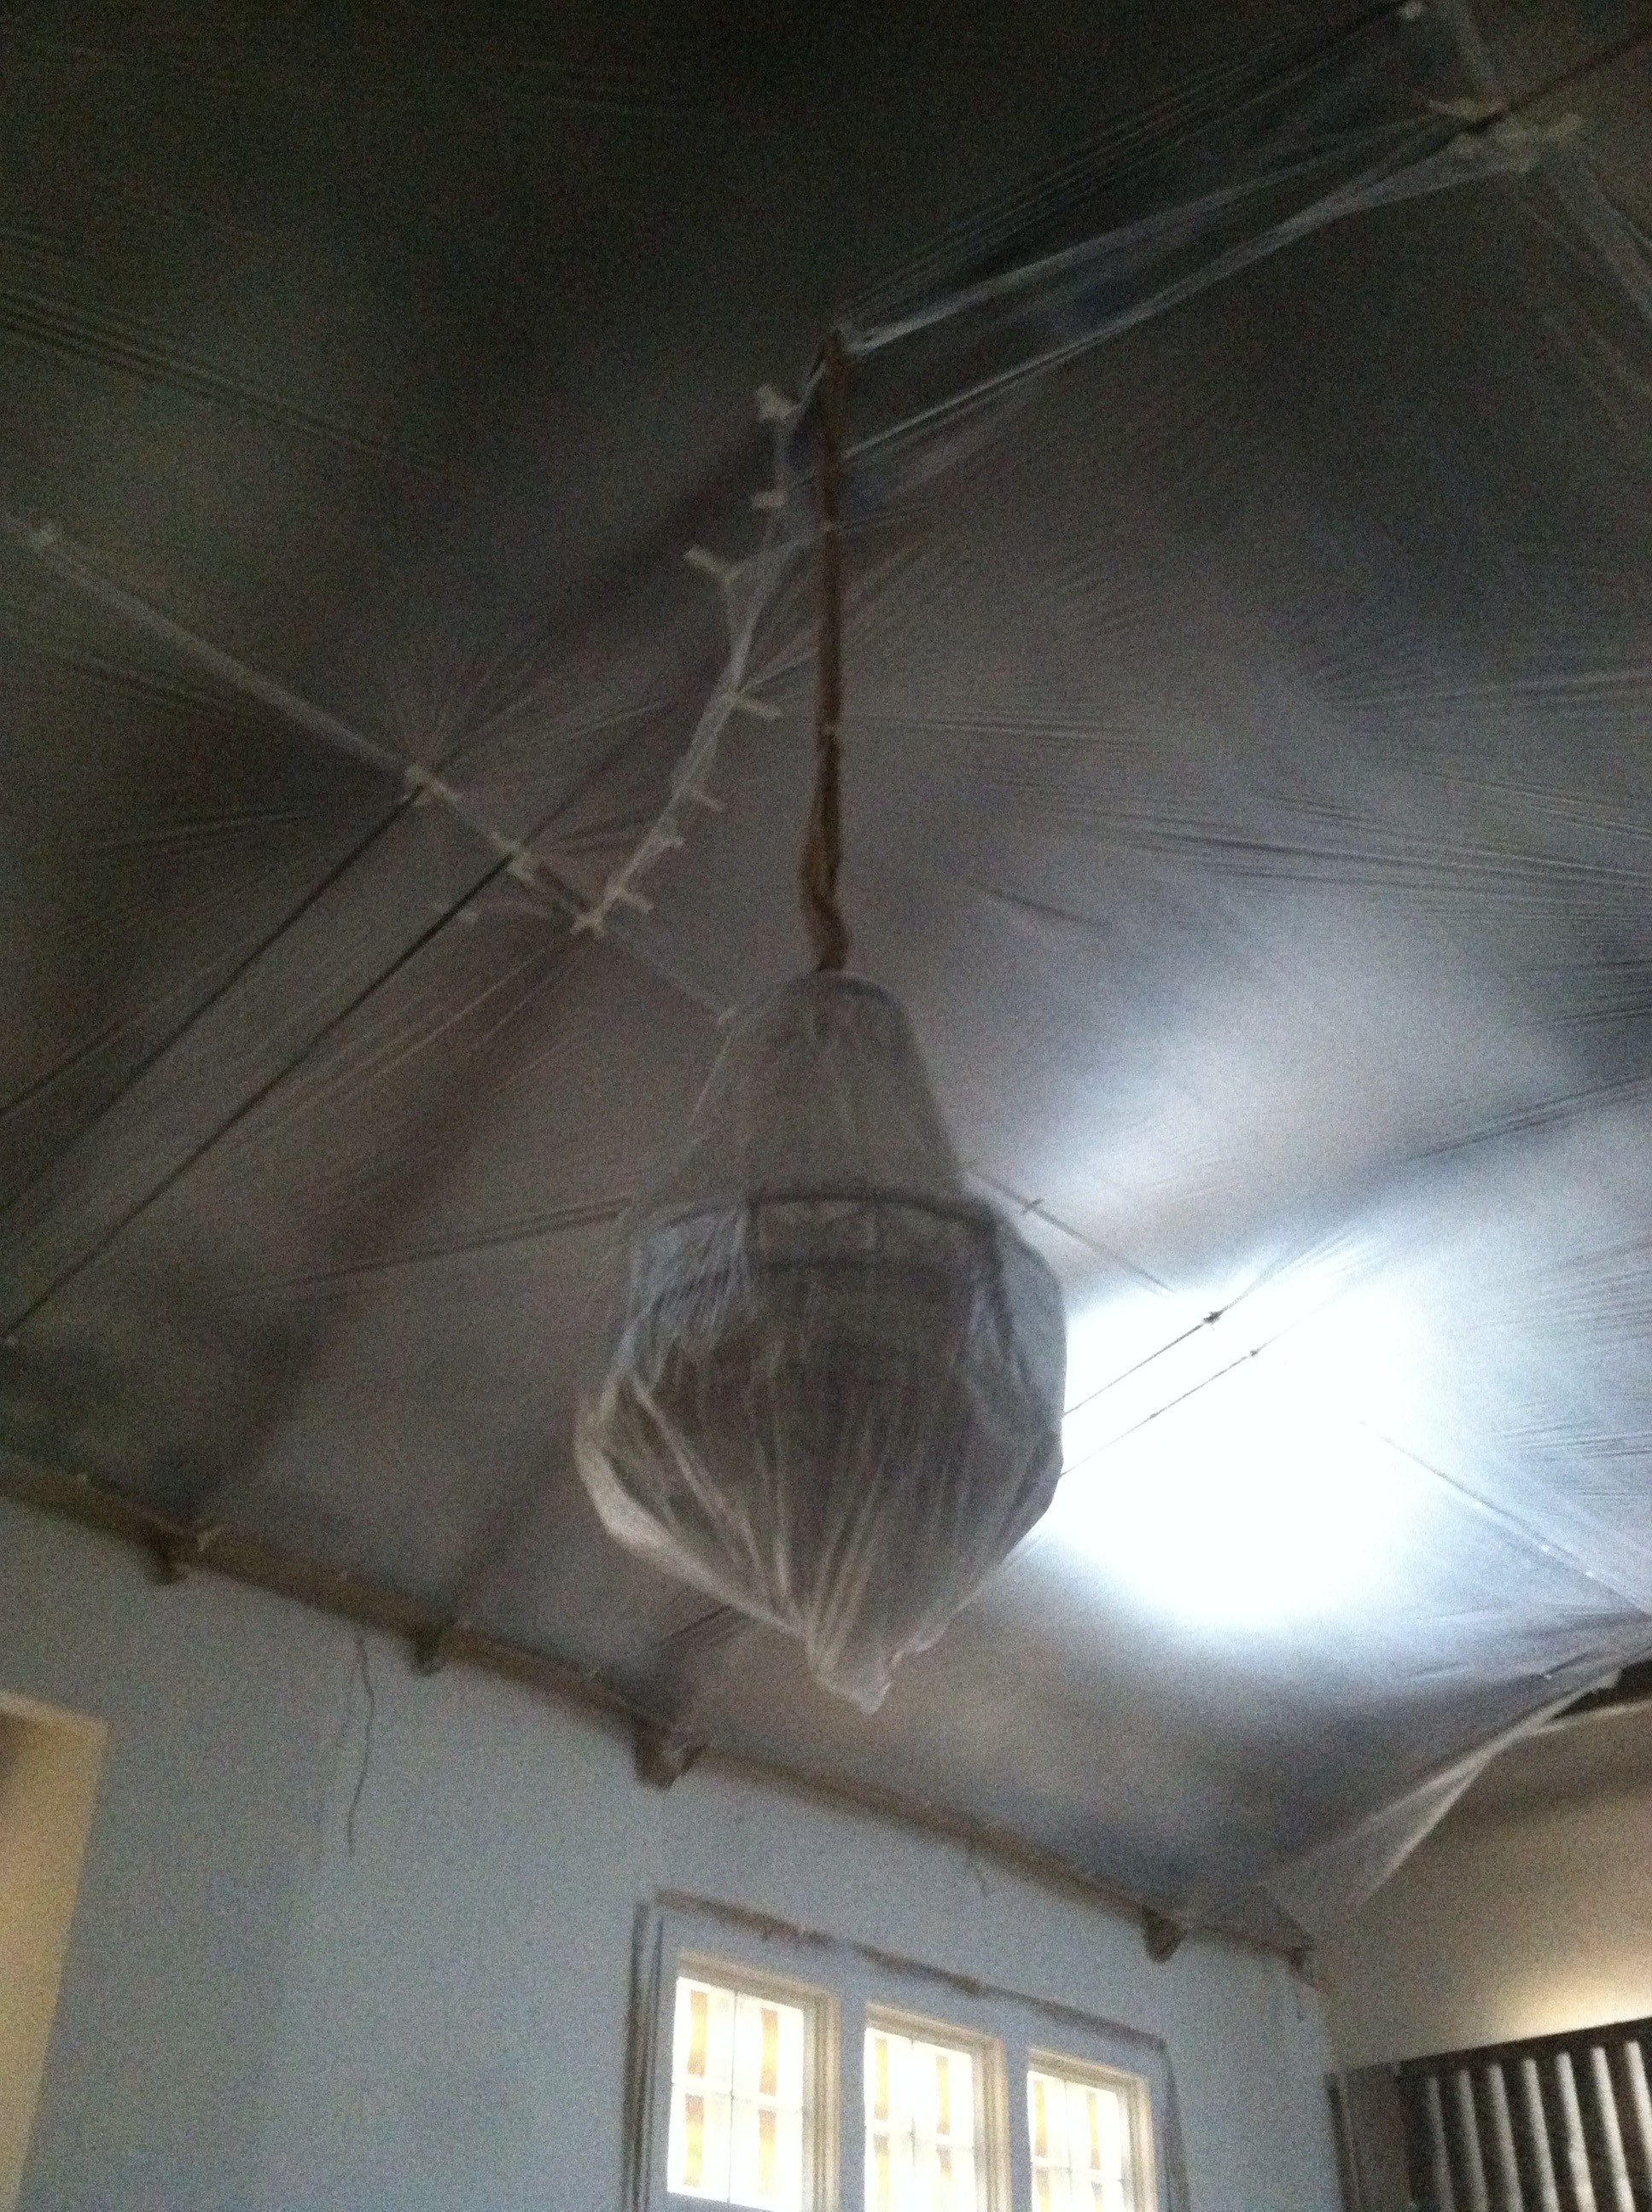
It looks a bit like a spaceship in the house.

They primed all the trim on Friday and now are hand sanding it all before they start the first coat of paint. So I think it’s going to be another two weeks possible three to get all the painting done.

IMG_3549
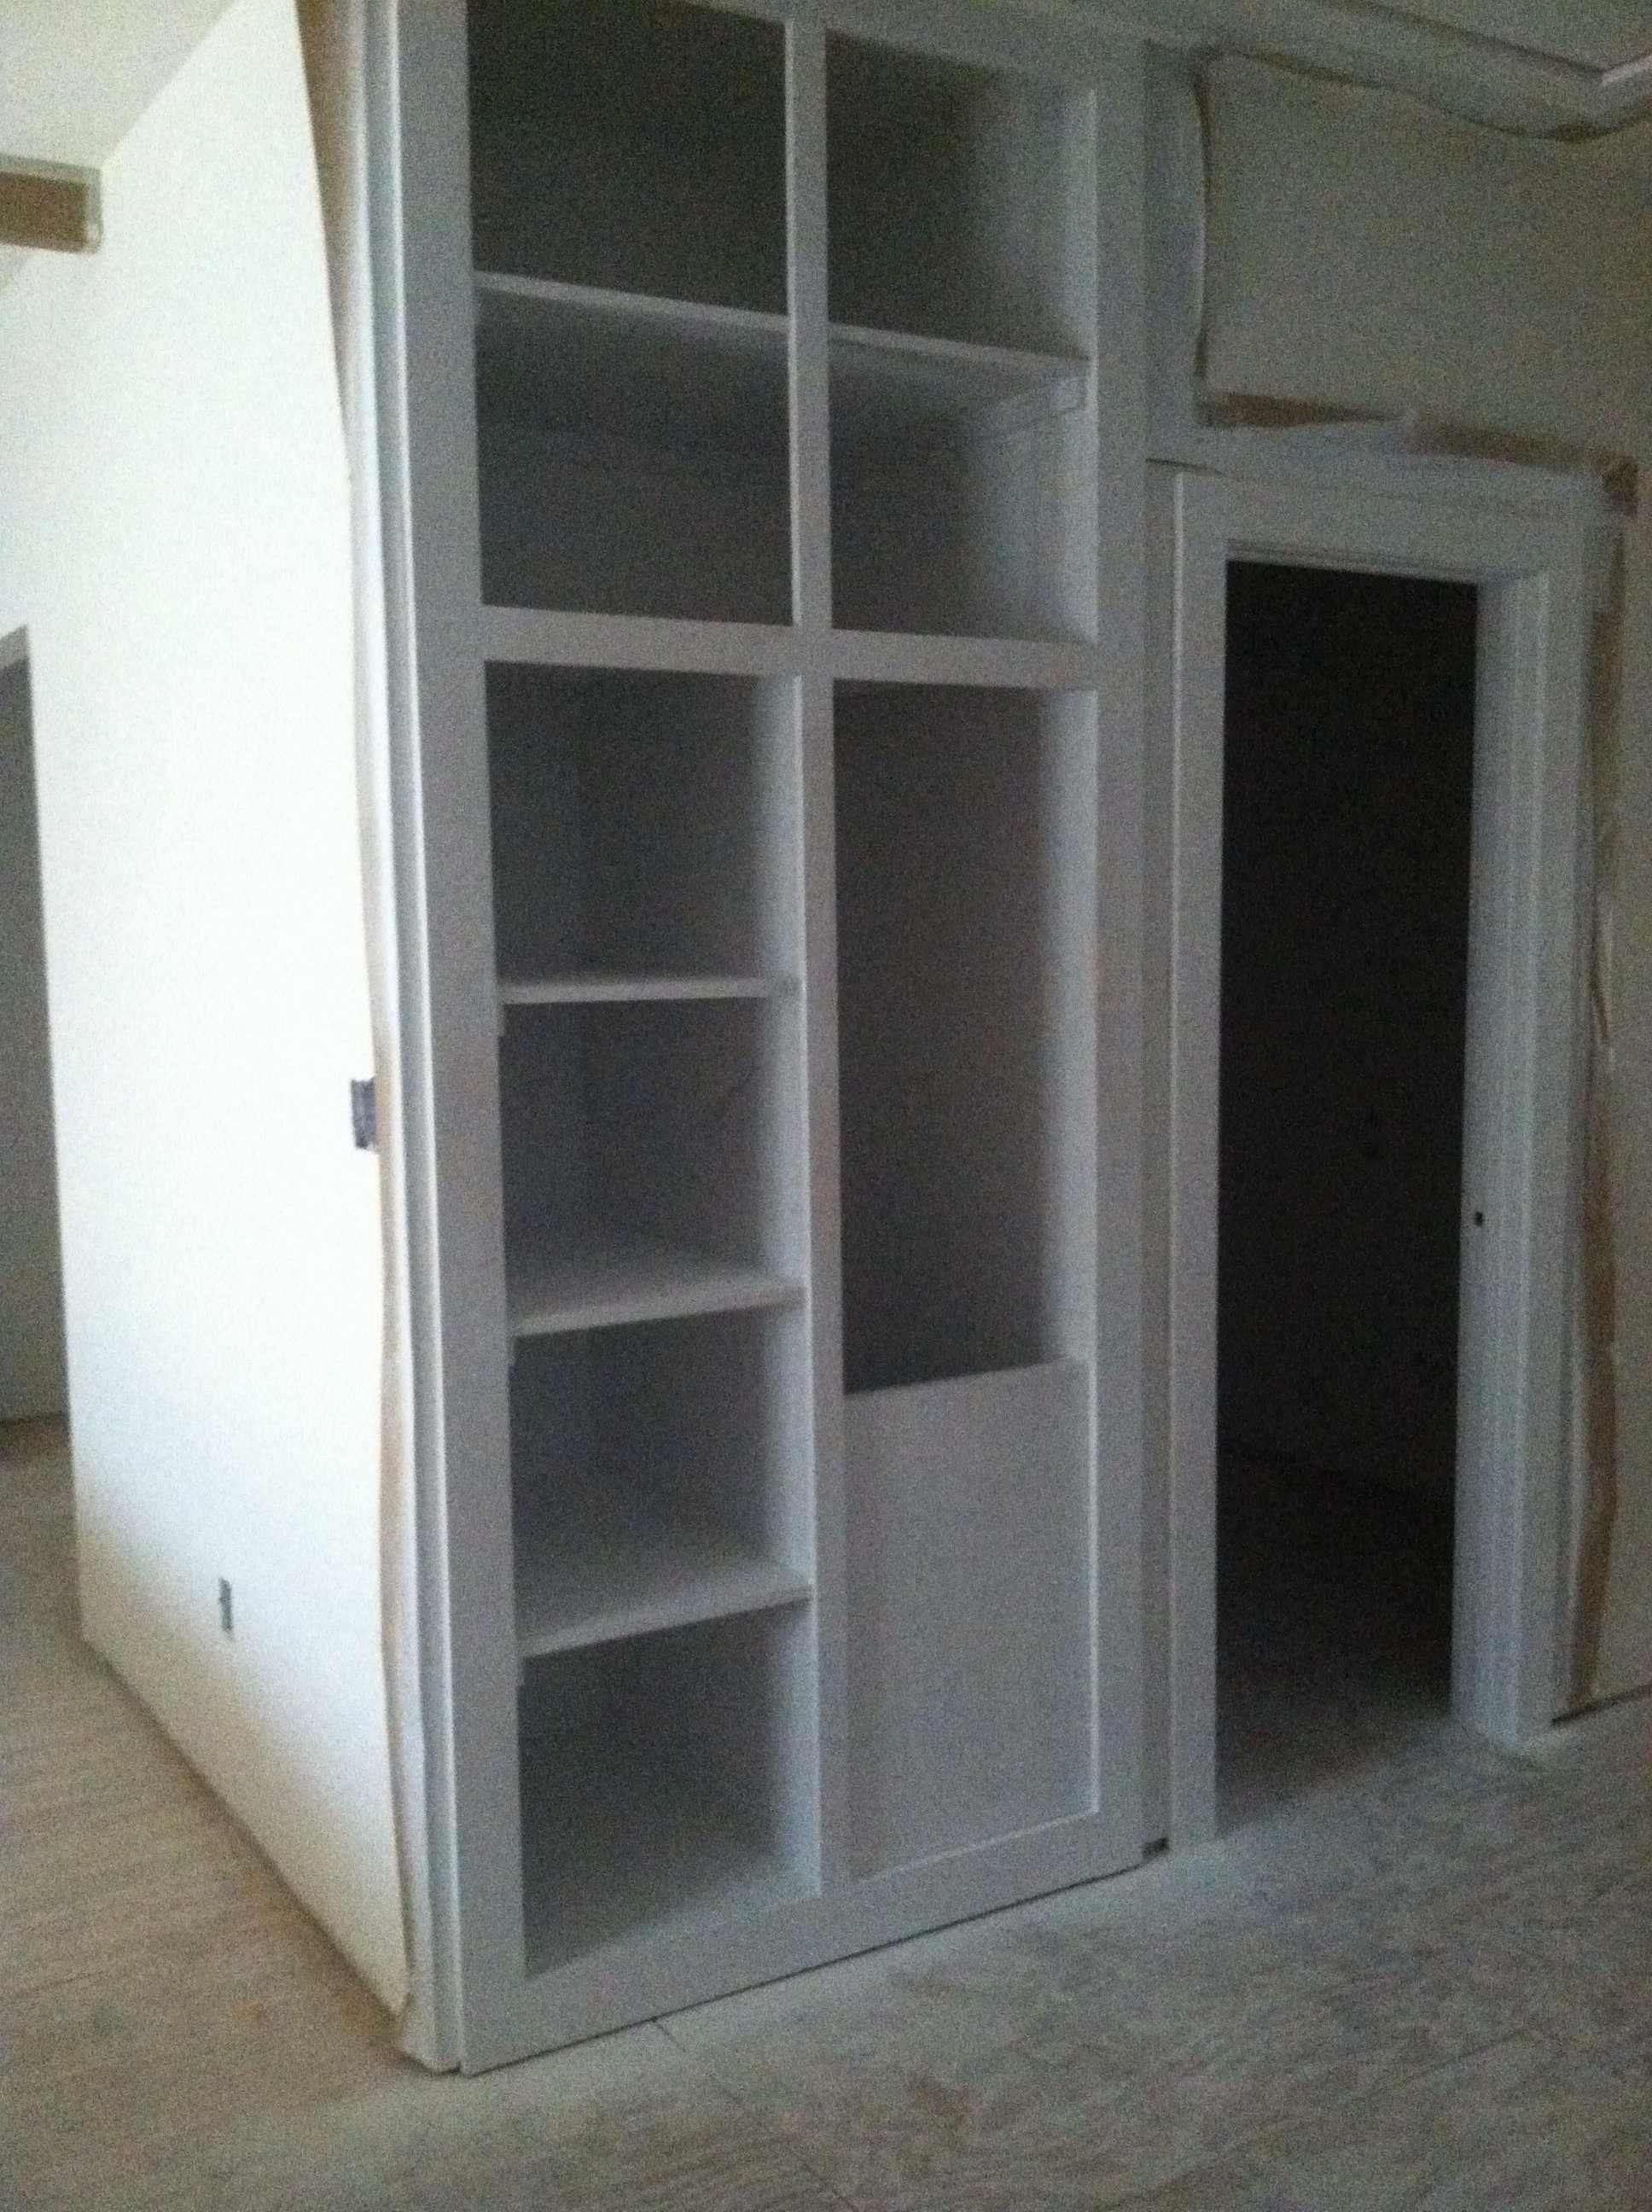
The laundry chute upstairs. All primed.

IMG_3474
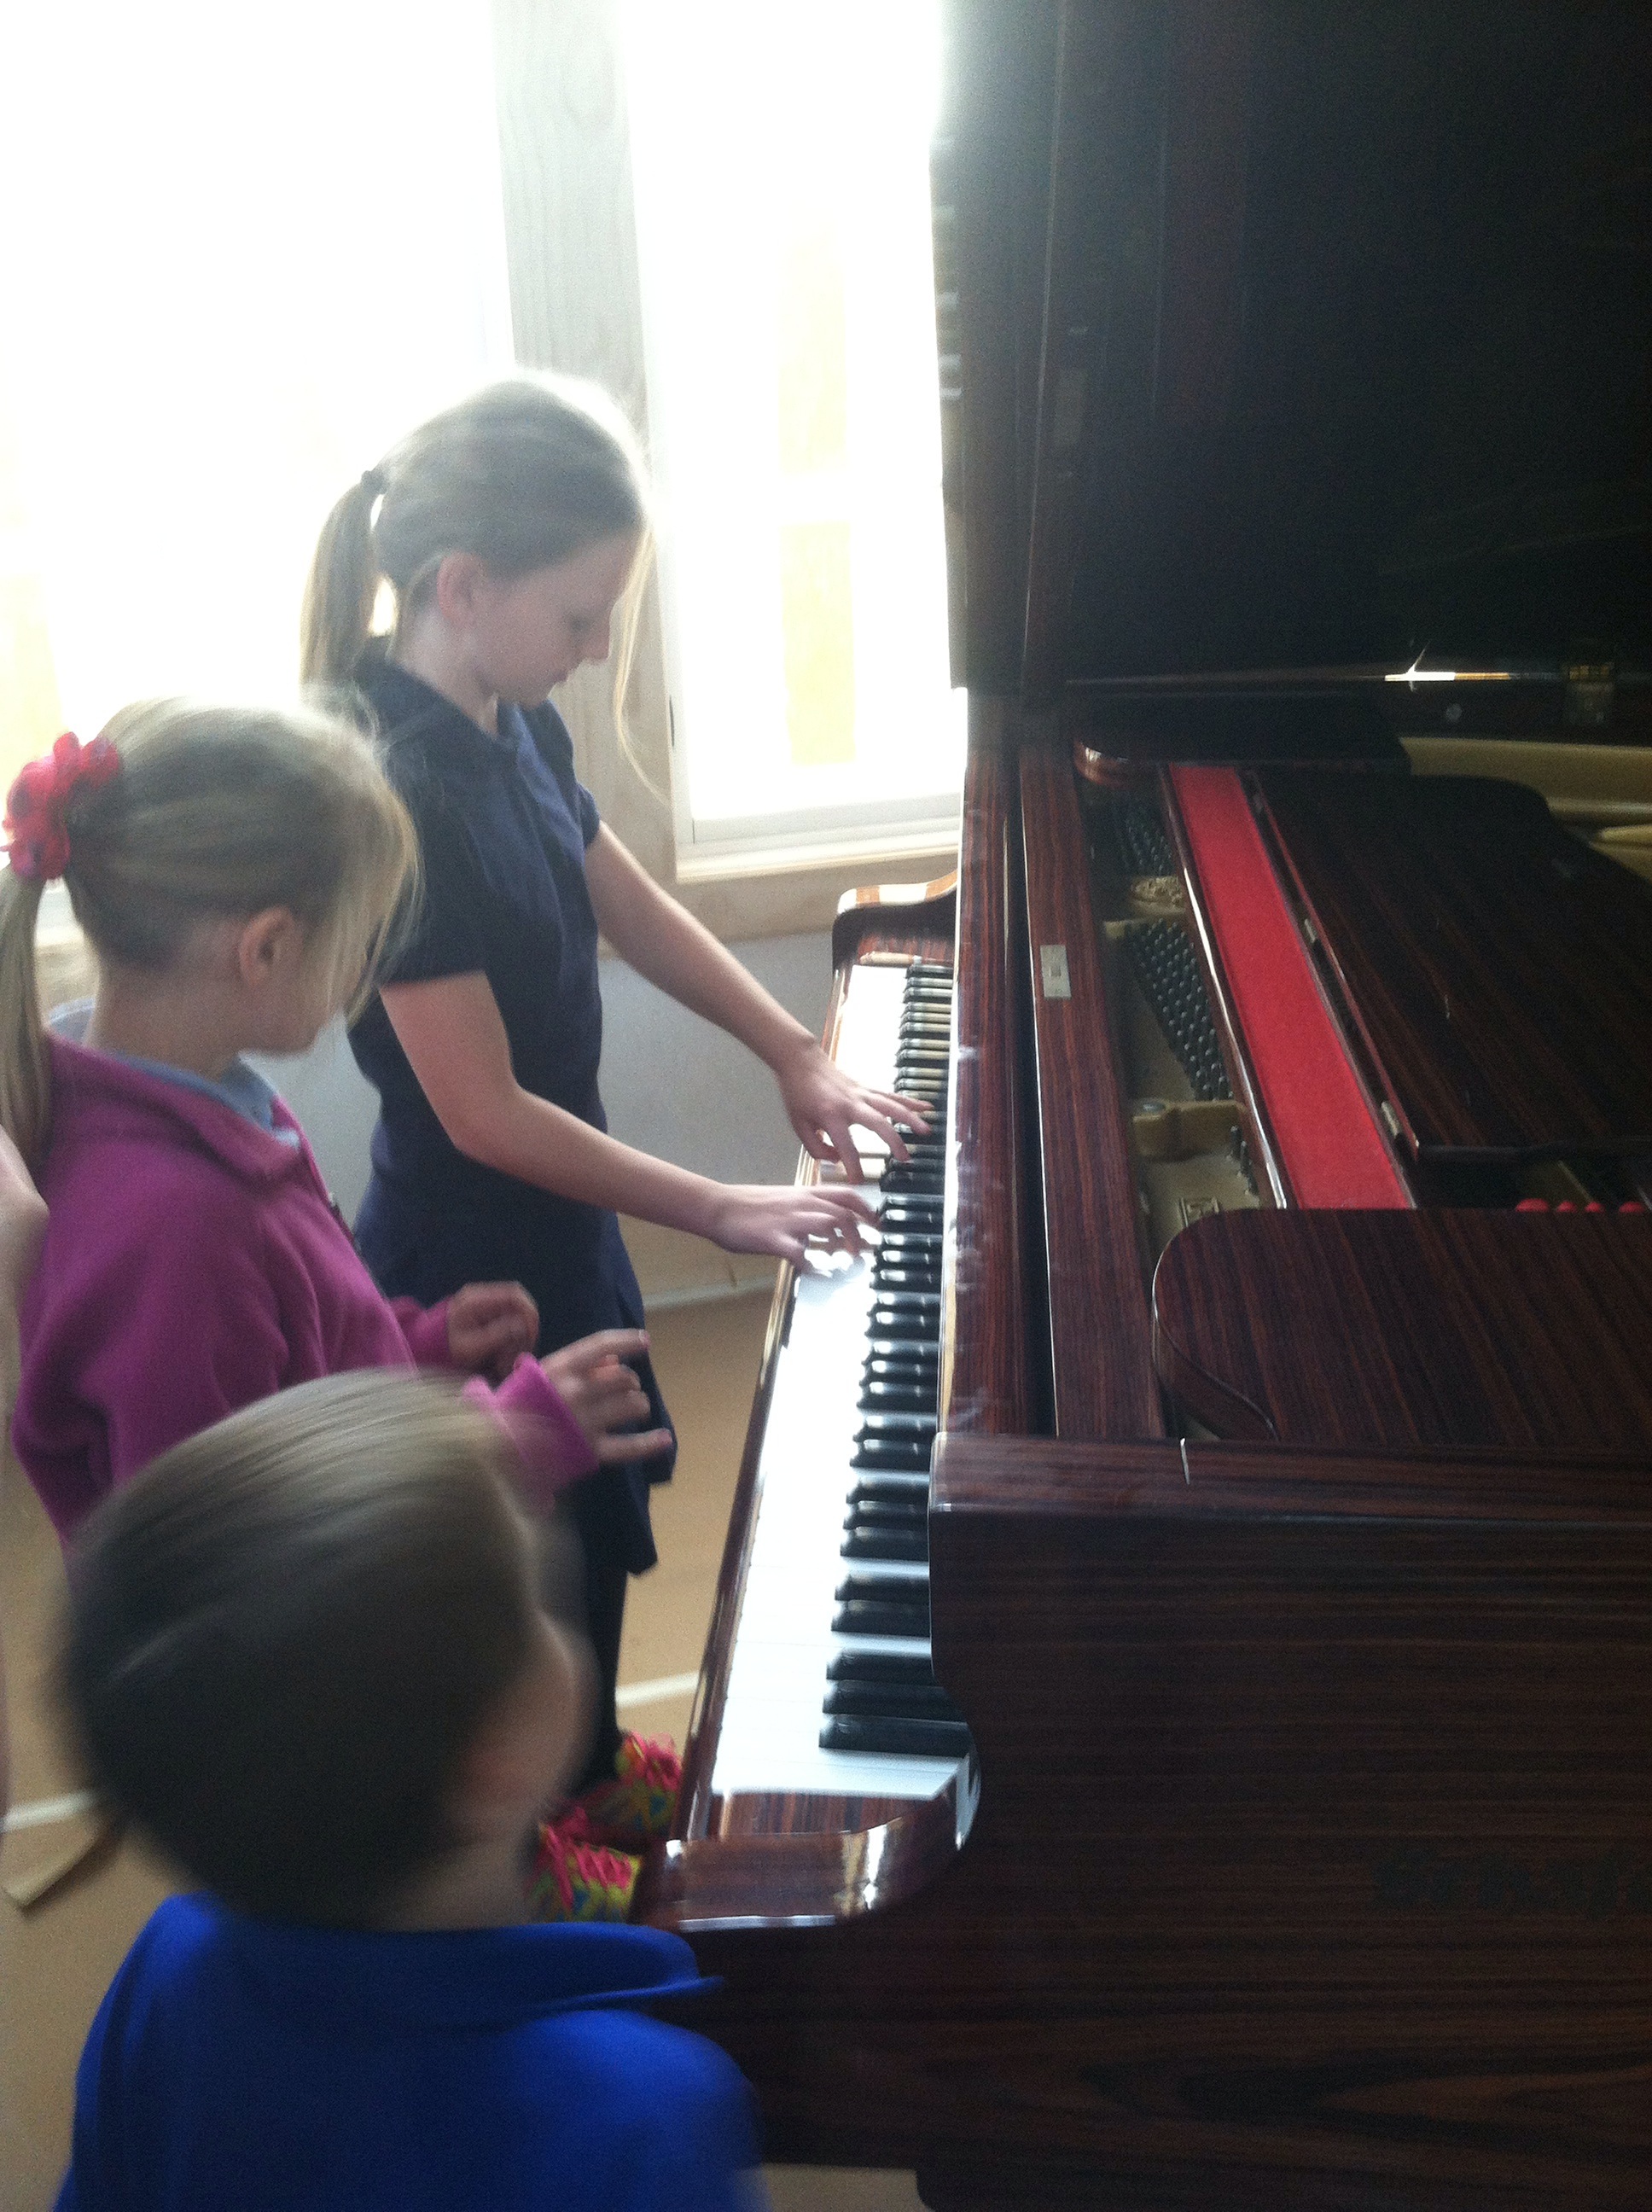
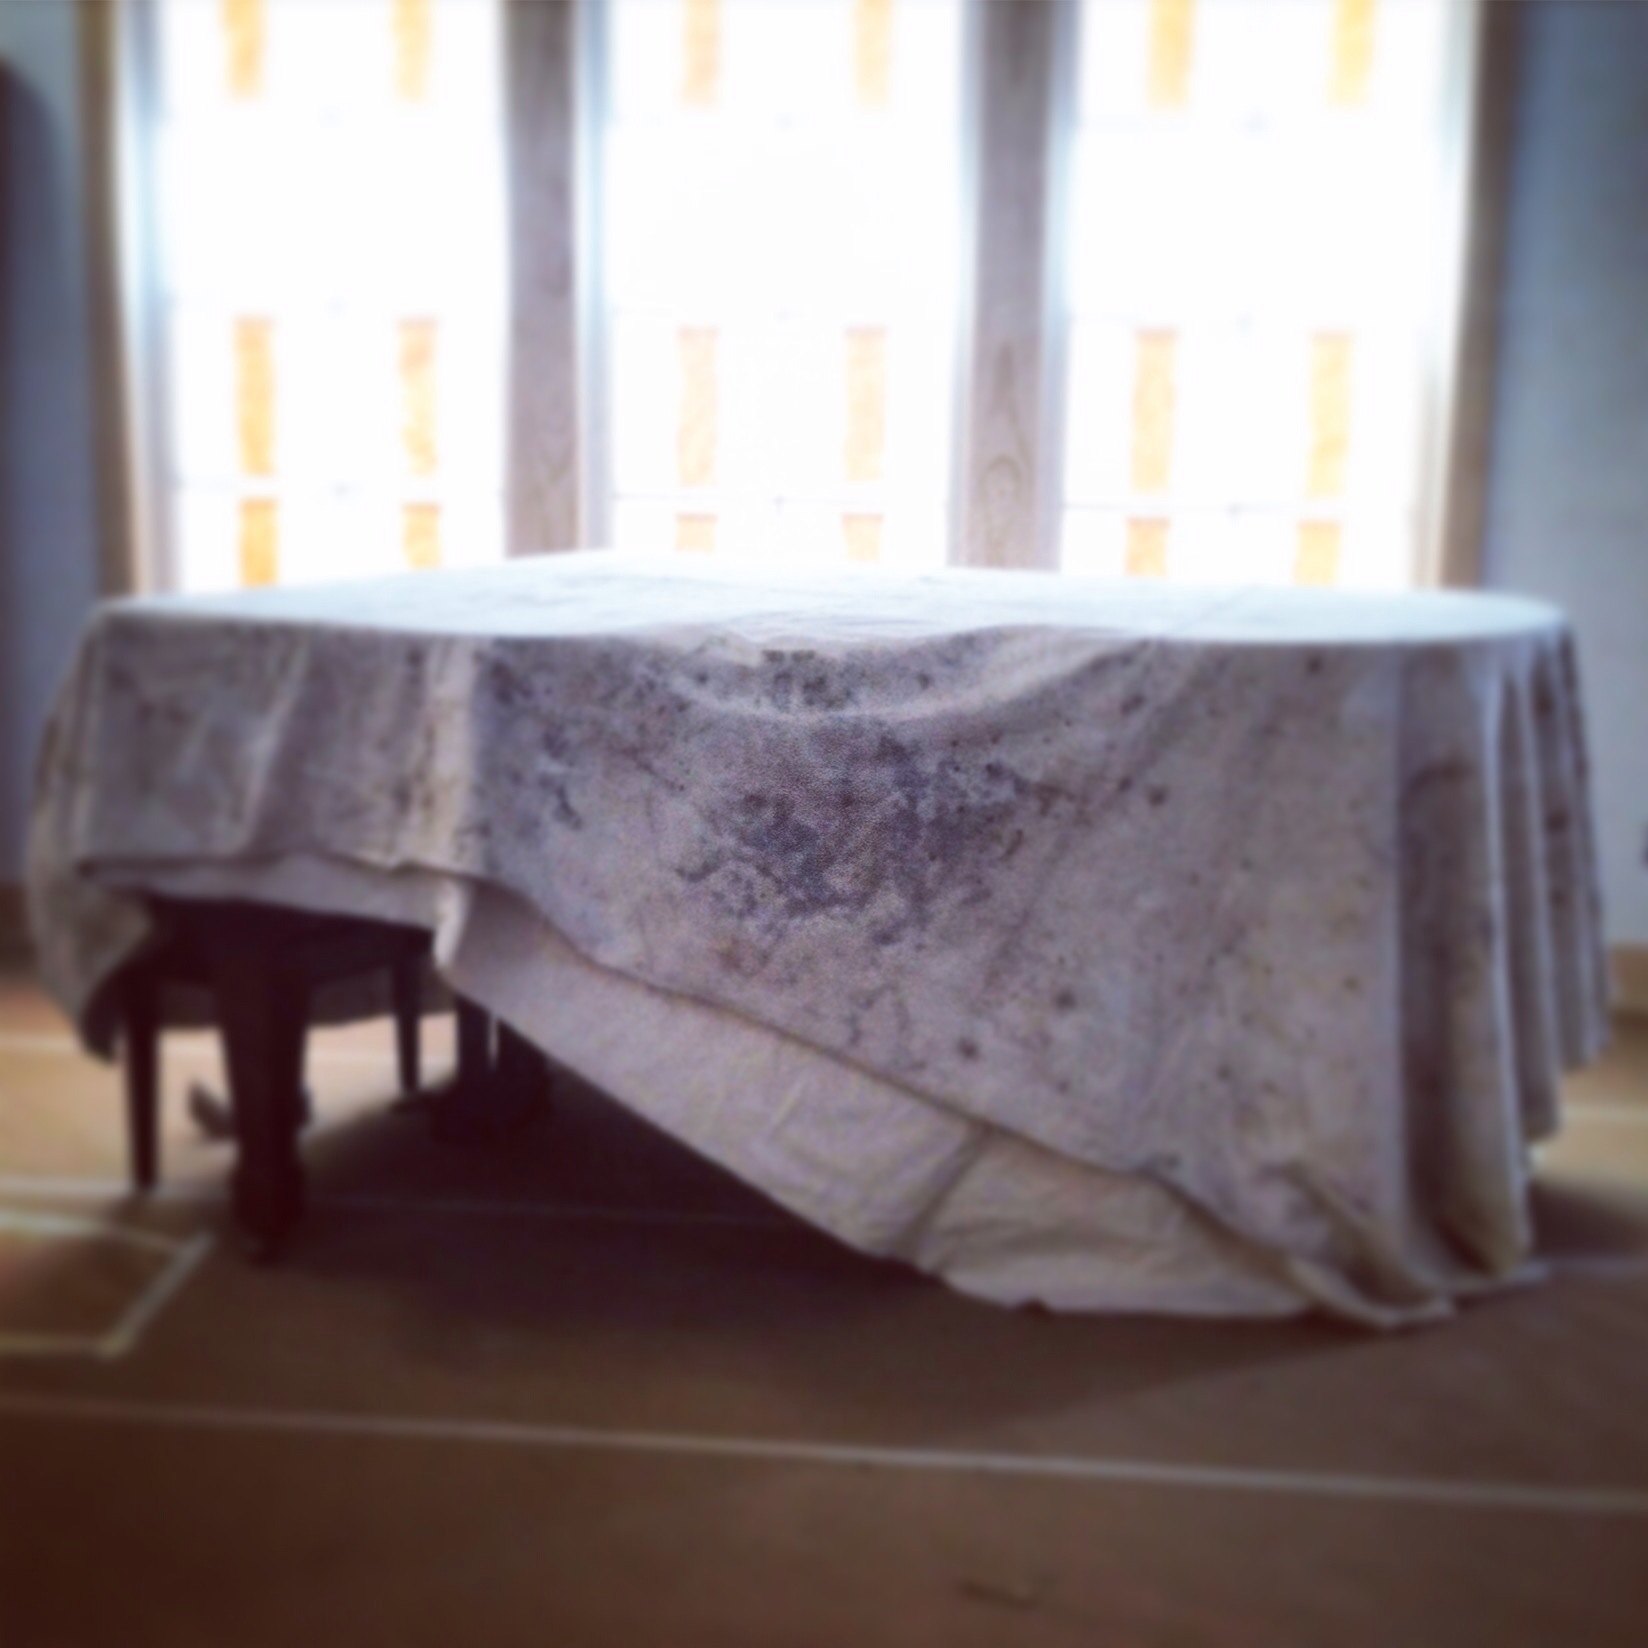
And (in other news 😉) everyone is pretty excited to have our piano here. It came from California the week before last. It’s Coles family’s piano. It’s been sitting unplayed for 20 years. It will be played often and much enjoyed in its new home. 🎶 I love the 80’s retro vibe of the piano.

IMG_3461

IMG_3498
So this is what the next few weeks are looking like. White paint and more white paint…..with a few surprise colors in the big kids rooms.

Thanks for reading
Hope you have a wonderful week
Holly 😊

Concrete floors

Ok, this last week has been a bit of a busy one. We had the downstairs floors polished. We…….well I say we…….Cole had been researching the best way to finish our floors. Stain, seal, wax or polish? Or a combination? We went with polish, it is supposed to have less upkeep and more durable? And I wanted to stay with the natural concrete color anyway. We found a very reputable guy about an hour away. He polishes floors for u-haul. Ha!!! Seriously the faces that people made when I told them our floor was going to look like Home Depot. 😳

2015/01/img_2160.jpg
From the loft, it’s a bit darker than this…..the dust has settled a bit.

2015/01/img_2157.jpg
Here is a close up, in the living room.

2015/01/img_2159.jpg
This is the hallway from the master.

So we love it ❤️. We even love the cracks 😊

2015/01/img_2161.jpg
Little C’s room.

The man who did it had never done a floor quite like this, he usually takes more off, to show a bit of the aggregate. We wanted to keep the “cream” as he called it. This way we keep a bit more color variations. And the swirls that were left when they were pouring the concrete. They went over the floors three times. With an 200 grit, then a 400, then an 800. They could have gone way shinier but this sheen is perfect for us.

I found these next two pictures on Pinterest. They look just like our floors. I am pretty sure both pictures are homes in the Netherlands.

2015/01/img_2153.png

2015/01/img_2150.png
Loving it!!!!

Our wood for the upstairs floor came last week. We are going to give it a month to acclimate. So now I have to decide how I am going to finish that. Paint or wax or stain?????? Decisions!

Happy Saturday!!!
H😊

Moving along

Our drywall guys finished all the texture yesterday. Another step complete….

IMG_2135.JPG
I am not a fan of texture….I like flat walls….but with four kids, and living on a farm and loving white….the texture is the smart move 🙂

IMG_2140.JPG
Big T in the loft.

IMG_2109.JPG
One last photo of the stilt walkers.
This was before primer and texture.

So next step is going to be ceiling material….and the decorative beams and rafter beams. Happy happy to be moving along.

The kids and I are going to pick out paint color for the their rooms this week. We are going to have our painter paint the great room. But we will be painting the rest of the house. (I love to paint….I hope I still do after this).

Thanks for stopping by
H.

Drywall

Drywall is going up this week. I can’t believe I have hallways and rooms.

IMG_2039.JPG
From the living room looking towards the kitchen and up into the loft/playroom.

IMG_1990.JPG
These guys are amazing on stilts. He is on two boards over the stairs. And so……little C is now asking us for stilts for his next birthday :).

IMG_2043.JPG
Looking out from the loft, the stairwell is in the left corner.

Today was a half day for the three big kids in school. We stopped by the house on the way home and the kids started playing ‘hide and go seek’. Cole and I were visiting with Jonathan the head drywall guy. They run a family business with Jonathan and his Brother and his Nephew Andrew and his Father Omar. (I can’t remember his brothers name 😞)

All of a sudden a man goes running through the great room. Jonathan says “was that my brother?” Now there is often running bodies at the house but they are usually our kids, not grown men. But we both looked and said “yep that was your brother”. Then went back to talking. About 20 seconds later we hear “ready or not here we come”. And all four of our kids came running into the great room on the hunt to find Jonathan’s brother. It was so sweet and so funny. And honestly how so much of this project has gone. Our subs have been so amazing.

My kids have had such a great experience meeting these hard working tradesmen. And slowly watching our home materialize. The dry wall has been such a huge change. Being able to walk down the hallways and into all the rooms. It’s been really fun for all of us.

IMG_2008.JPG
The girls checking out their rooms, after the first day of drywall.

IMG_1995.JPG
Little C-man helping step on the tool that lifts up the bottom of the drywall.

IMG_1988.JPG
Staying out of the way watching the (unseen) man working 🙂

IMG_2025.JPG
And following Dad, carrying wood, always ready to help.

They started taping the drywall today. I think by Tuesday it will be time to start texturing the walls. They are going to make a few samples for me. Big decision!!! 😳.

Sorry for the crazy long post. And million pics of little man.

Thanks for following along our crazy journey.
H

Rods in trusses

The rods have been going up all week. It’s been so nice to see things moving along.

IMG_1742.JPG
This is the number five truss….the first one done.

IMG_1746.JPG

IMG_1745.JPG
Zoomed in a bit.

IMG_1770.JPG
Here, if you look really close, you can see truss one and two and four and five are done. Truss three is the problem child (the one the framers are working on here) we are going to change out one of the beams that go up the wall. So it will be the last one done.

IMG_1768.JPG
We are really happy with the way they are looking. They remind me of a bridge truss. Thankfully we love the industrial look.
So far the rods have brought the wall back in (almost two inches). Yay!! Engineering wise it has all been very interesting, and quite the learning experience. Our front door that was almost 2 inches out is now it is plum. 🙂 So crossing our fingers that when they get number 3 truss done all will be good.
I will take another pic when it is all done. The rods look like they belong….not like a fix. I was a bit worried about it looking like an add on. But it really doesn’t.

IMG_1775.JPG
And just for a chuckle….my three youngest stinkers making themselves (well everyone….workers included) laugh. Little C man was not getting the idea of opening the bottom of his shirt. 🙂

Hope your day is happy.
H 🙂

Houston we have a problem.

We were over at the house on Thursday to see the progress of the electrical, and Cole noticed the header beam across the loft was pulled out from the wall. By about 5/8th of an inch.

Now we have spent just around $10,000 on engineering on these plans. We hired an extra engineer in Pennsylvania just to look at our beams to make sure they were structurally sound before shipping them here. When they got here the beams were smaller than they were supposed to be. But because we had them checked out (by a reputable company) we assumed they would do the job. (Yep….we shouldn’t have assumed).

So basically weight from the beams are pushing out the 16 ft tall wall, the wall with the front door. The wall is 50 ft long. Because the beams don’t sit on the plate line, the truss is pushing out instead of down, had the beams been bigger and longer (like they were supposed to be). (And like what we payed for) we would have been ok.

Cole put a call in to our original engineer here in Texas, he was supposed to call back yesterday but so far we have heard nothing. :(.

Yes…..I wanted to cry yesterday! But I reminded myself. It is just a house…..it (apparently) is going to be a bigger learning experience than we thought. And I have too many things to be thankful for to get too upset. And it’s fixable. With money yes, but it’s fixable.

So the framer came out yesterday. I did not go over…..sometimes husbands have to get the bad news first.

Our framer (who is a great guy) is coming back on Monday to get up in the trusses and see exactly what is moving and how far. Most likely we will have to put four beams going from the truss to the floor. (Now to be totally honest I always wanted some down beams in the house). And we might have to have some cables or rods going from wall to wall.

20140607-092154-33714790.jpg
In this photo which I have looked at many times there is a rod, I had never noticed it before yesterday.

We will know more next week.

My only worry is it will look like it was a fix? But thankfully the walls are still all open so we should be able to seamlessly set the new vertical beams. And tie it all into the walls if that’s what we end up needing to do. And it actually might really help out with some lighting issues. We will see.

Think happy thoughts for me. I was ready to jump in bed and never get out again yesterday. But it’s all perspective and I am sooooo glad we saw this before everything was covered up by drywall.

But it does suck. A lot.

H 😳😁😑.

Lighting the great room

Ahhhhh….the lighting of the great room. This has been a puzzler for us….but I think we have figured it out?? Possibly? The room is 50 ft, by 30 ft, with a 28 ft ceiling. The walls are 16ft tall. And the bottom of the truss is at 20 feet. Got it???? 😳. If it matters the ceiling pitch of the roof is 10/12.

20140531-102419-37459635.jpg
This photo is taken from the upstairs loft (playroom).

20140531-102721-37641280.jpg
Ok….this photo shows the entire right side wall……under the truss on the right side wall is going to be an exposed duct. It will be 18 inches in diameter.

20140531-103148-37908499.jpg
Very much like this (but on the other side).

20140531-103254-37974487.jpg
In the right corner you can see where the top duct will come out of the back wall…take a little turn and head across the right wall. (That corner is the kitchen).

20140531-103446-38086269.jpg
This photo shows the vaulted ceiling….with the flat ceiling of the dormer.

20140531-103715-38235588.jpg
Sorry this picture is fuzzy. But here is the great room plans. The trusses (there are five) and the ridge beam, and the beams that go below and above the dormer, are all indicated with dotted lines.

Ok!!!! Hope you are still with me!

So this is our plan…I think. On the wall, in between the trusses we are going to put a two or three spotlight track light. The ones behind the A/C duct will be fairly hidden, so it’s just the front door wall you will see them. And they will be white on a white wall. I think they will easily disappear.

20140531-104920-38960159.jpg
Something like this…one spotlighting the truss to the left one spotlighting the truss to the right and the middle one facing across to the opposite ceiling. I would love LED’s but we might just buy some lesser expensive ones now and it will be easy to change out one day. Still have to do some research on prices.

20140531-105932-39572884.jpg
Ok (I sincerely apologize for the crayon)!!! The three red X’s are the three chandeliers. The one in the living room (in front of the fireplace) will be a eight/nine foot chandelier. The one over the dining table will be a bit smaller, maybe six feet. Then the one in the kitchen is off center, off the dormer beam, so it is over the middle island. Lighting up the kitchen area.
The green X is an 8 foot industrial fan. The one we are getting is the MacroAir, Air Elite.

20140531-111415-40455676.jpg
Now I use the word Chandelier looslely!!!! They may be large pendants….or a “something” repurposed into a light.

20140531-112143-40903669.jpg
This is a binder…..it is a farm implement that was used in the twenties and thirties. (I found this photo in country living UK). We have two of them in one of our old barns.

20140531-113633-41793199.jpg
My girlfriend saw these and saw a chandelier……I could see it!!! Over the dining room table. Now I have gotten some very varied reaction to these. From “I can totally see that”. To “what are you smoking”. I have no idea how I can make it work. I don’t know if I can make it work. I just think with all white walls and the old wood…..that crazy binder just might look cool?

20140531-115444-42884141.jpg
I am thinking one of these big 200 watt old barn pendants in the kitchen??
The living room?????? I have no idea.

Well that was a bit long winded!!!! Thanks if you made it through.
Any input is welcome, and it won’t hurt my feeling if you hate my binder. 🙂

H 🙂

Barn door

Well the front is all sided. And the barn door put up. It’s just an architectural detail. (Non-opening). My hubs tried to talk me out of them. He thought it would look cleaner. I left the cupola out but I wanted to see what the doors looked like. If we didn’t like them we could easily remove them.

20140310-185533.jpg
And I really love them. And so does Hubs 😉. I think it really gives it more of that barn/farmhouse look. I am thinking I will paint the doors a varying shade of white. Just so they stand out a bit?? Nothing drastic. Any thoughts? Not totally sure yet.

20140310-190027.jpg
The front is fully sided. Just waiting on paint! (But roofing goes up first).
The rock layers are almost done bricking the fireplace. The rock was delivered today. So they will start to rock tomorrow, maybe……hopefully?

Thanks for reading. Happy Monday
H!

Fireplace

We met with the rock guy this week. To talk about the fireplace. The firebox is going to be 42 inches deep by 60 inches wide. So the fireplace hearth itself will be eight feet eight inches across. And 28 feet tall. It was a bit of a shocker to look up and realize it was going that high.

20140119-091226.jpg
I was a bit worried about the fireplace. I love stone, but I wanted to find something that fit my vision of this house. I came across this picture in Country Living magazine and my worry was gone. I didn’t know what it was called. Now I know….it’s dry stacked rock. I love how it has an old look to it. Our rock that we have picked out has a bit more brown in it. The all gray and charcoal color was much more expensive, and I thought the bit of brown would go well with the beams. We have a beam very much like the one in the photo to use as a mantle. I really like the arch below the mantle, ours calls for no arch…..I am pretty linear, so is our Architect. But that arch is pretty and might be an interesting change to all the straightness???? The farmhouse I grew up in has beautiful arched entryways made out of reclaimed brick….it is stunning. I still remember sitting and watching our family friend build them. ( I was probably 8, and it was so interesting to watch) Hmmmmm, I am going to have to revisit this arch thing. 🙂

We were going to have the same rock under the two wood stoves we are going to have. ( one across from the kitchen, and in the screened in porch. ) But being in the house now I think I have decided we are just going to put them on the concrete. I think it will be a cleaner look. And I was planning on storing/displaying my cast iron and enameled cook wear by the wood stove in the kitchen area. I love using cast iron and I love the look of it. My hubs has dutchovens for cooking on an open fire and I will bring those in and have them there too I think? This is still not for sure. Just a feeling that the rock on the fireplace will be enough.

H 🙂